Wasp mode lights with Home Assistant and Node-RED
How to control your home or office lights based on doors, presence and motion.

Wasp mode is a generic term for lights management in a room with one or more doors and one or more motion / occupancy sensors. This idea does not originate from me — I credit the following project for it.
The idea behind a wasp mode sensor is as follows:
- When a door is open or a sensor detects presence / motion / occupancy, the lights are turned on for a brief period of time. Every time there's motion detected, the lights remain on for a while longer.
- When all doors are subsequently closed, if presence / motion / occupancy remains or reactivates after that, wasp mode is turned on, meaning that all lights will remain on until the next time a door is open.
- Once everyone exits the room (irrespective of door state), all lights are turned off after a while.
This naturally implies that your room's doors have contact or reed sensors, and you have at least one motion sensor placed in the room.
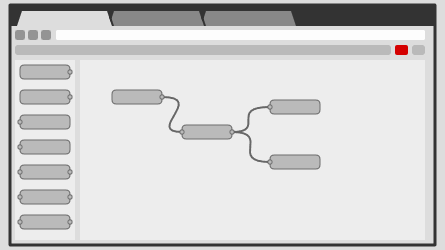
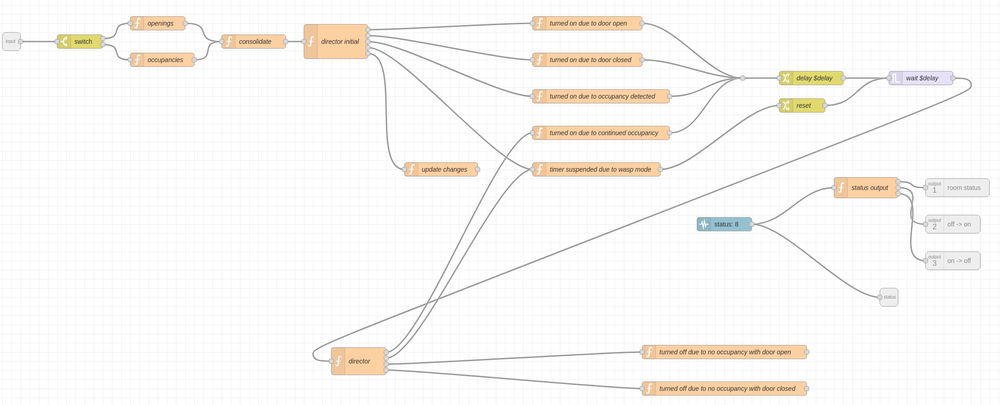
I've devised a Node-RED wasp mode subflow which you can use to create a Home Assistant sensor entity. This sensor entity can then be used to drive your automations and turn lights on / off. The latest version of this flow is downloadable here, so you may import it into your Node-RED instance. Take a look at an approximation of how it's laid out:

Its inputs are Node-RED Home Assistant event: state node nodes of the opening, motion or occupancy sensor class (detected by their name in msg.topic). Its first output is a msg whose payload says on due to... or off due to..., with active occupancies and openings as attributes of the msg object. Its second and third outputs only activate when the light is supposed to transition from off to on and from off to on respectively, with the payload saying on or off.
The timeout (which defaults to 30 seconds) can be adjusted with the subflow property delay — you will want to bump this to more than 3 minutes for lazy sensors like the IKEA TRADFRI ones, but ideally it is always longer than the time it takes for the sensor to flip from "occupancy detected" to "occupancy clear" (or motion equivalent).
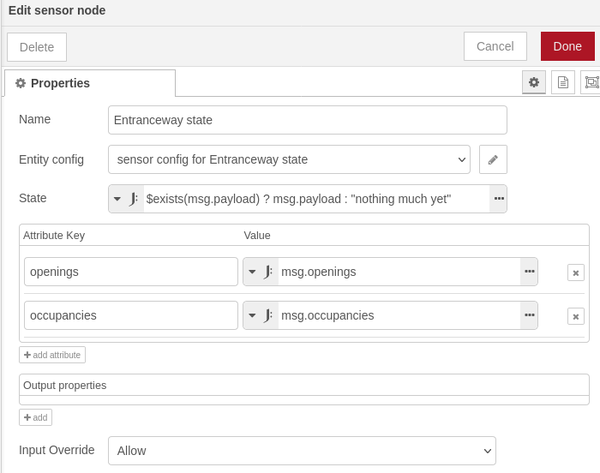
You can then hook this to, for example, a Node-RED HA sensor entity, such that this entity is created in Home Assistant. Here is how the network using the sensor looks like (note second and third output on the wasp node are not enabled):


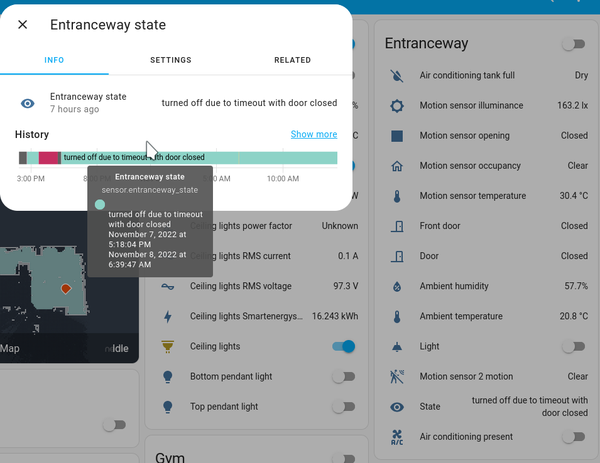
Here is a sample Home Assistant automation that works with this Node-RED-managed entity. The idea is that when the state of the sensor starts with on, then lights are turned on — and when the state starts with off, lights are turned off. Note how either one of two conditions (is the light level below 100 lx, or does it fall under the evening schedule for the entranceway?) must be met before the lights are turned on — that way the lights in the entranceway don't turn on during a bright day, even if the automation says so.
alias: "Entranceway: lights"
description: ""
trigger:
  - platform: template
    value_template: "{{ states(\"sensor.entranceway_state\").split()[0] == \"on\" }}"
    id: "on"
  - platform: template
    value_template: "{{ states(\"sensor.entranceway_state\").split()[0] == \"off\" }}"
    id: "off"
condition: []
action:
  - choose:
      - conditions:
          - condition: trigger
            id: "on"
          - condition: or
            conditions:
              - condition: state
                entity_id: schedule.entranceway_lights
                state: "on"
              - condition: numeric_state
                entity_id: sensor.entranceway_motion_sensor_illuminance
                below: 100
        sequence:
          - service: light.turn_on
            data: {}
            target:
              area_id:
                - entranceway
      - conditions:
          - condition: trigger
            id: "off"
        sequence:
          - service: light.turn_off
            data: {}
            target:
              area_id: entranceway
mode: single
Of course, you are not limited to using Home Assistant automations. You can also directly drive your automations directly from Node-RED using e.g. the Home Assistant call service node, and a bit of processing. Here we have a sample flow that chops off the payload to either on or off, adds a filter to prevent repeated calls to on or off, and calls the respective on / off services:

I hope this was useful!


